All API calls require a Bearer token in the request header.
- Token validity: 1 hour
- Testing: reauthenticate when required
- Production: implement a refresh token mechanism
Open the API catalog, select your product, and go to API Documentation. Download the OpenAPI definition in YAML or JSON from the top of the page.
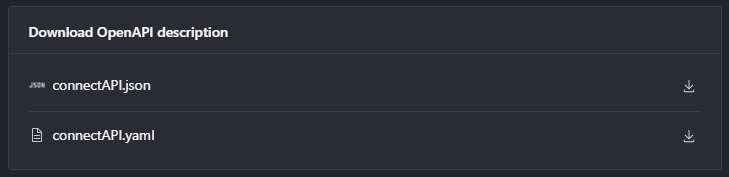
View full-size image — YAML and JSON download buttons
You can test with the in-portal Try It flow or import the definition into an external API client such as Postman or Bruno. In external tools, create a persistent token variable and pass it in the Authorization header for subsequent endpoint calls. Refresh or replace the token after 1 hour.
Note
This example uses the Sandbox environment.
- Open the Authenticate endpoint.
- Click Try it.
- Select your environment in the top-right corner.
- Enter
usernameandpasswordin the request body. - Click Send and copy the returned bearer token.
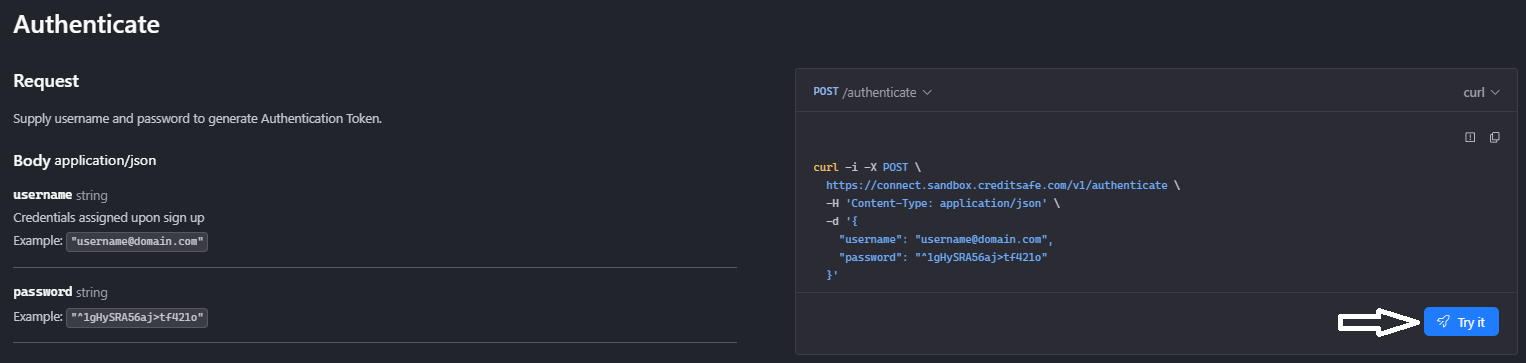
View full-size image — Try it button
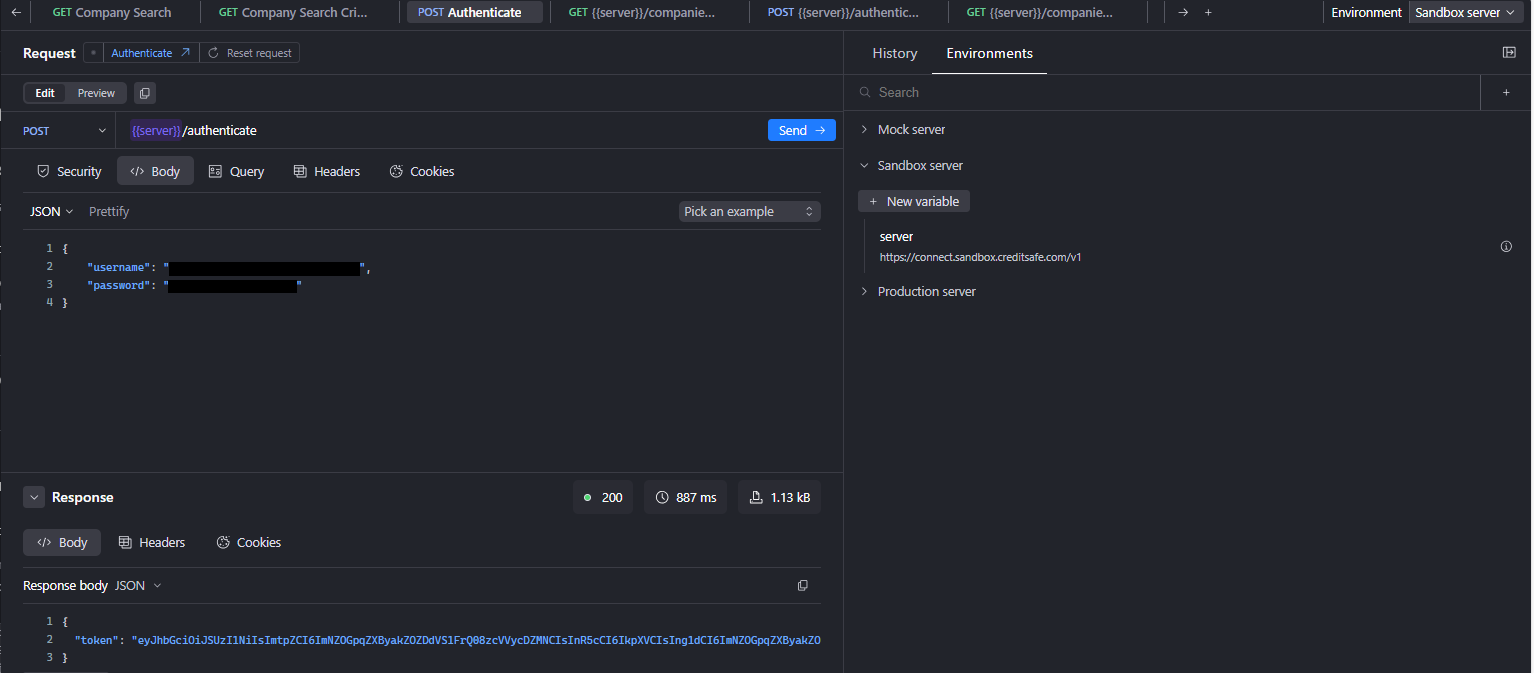
View full-size image — Authenticate endpoint response
- Open the endpoint you want to test.
- Click Try it.
- Go to Security and confirm
Authorizationis set to JWT. - Set
bearerToken_tokenwith your bearer token value. - If the variable does not exist, create one and reference it as
{{variable_name}}. - Add all required endpoint parameters before sending the request.
- The Try it console shows the available parameters for the selected endpoint. Complete any required fields to ensure a valid request.
- Send the request.
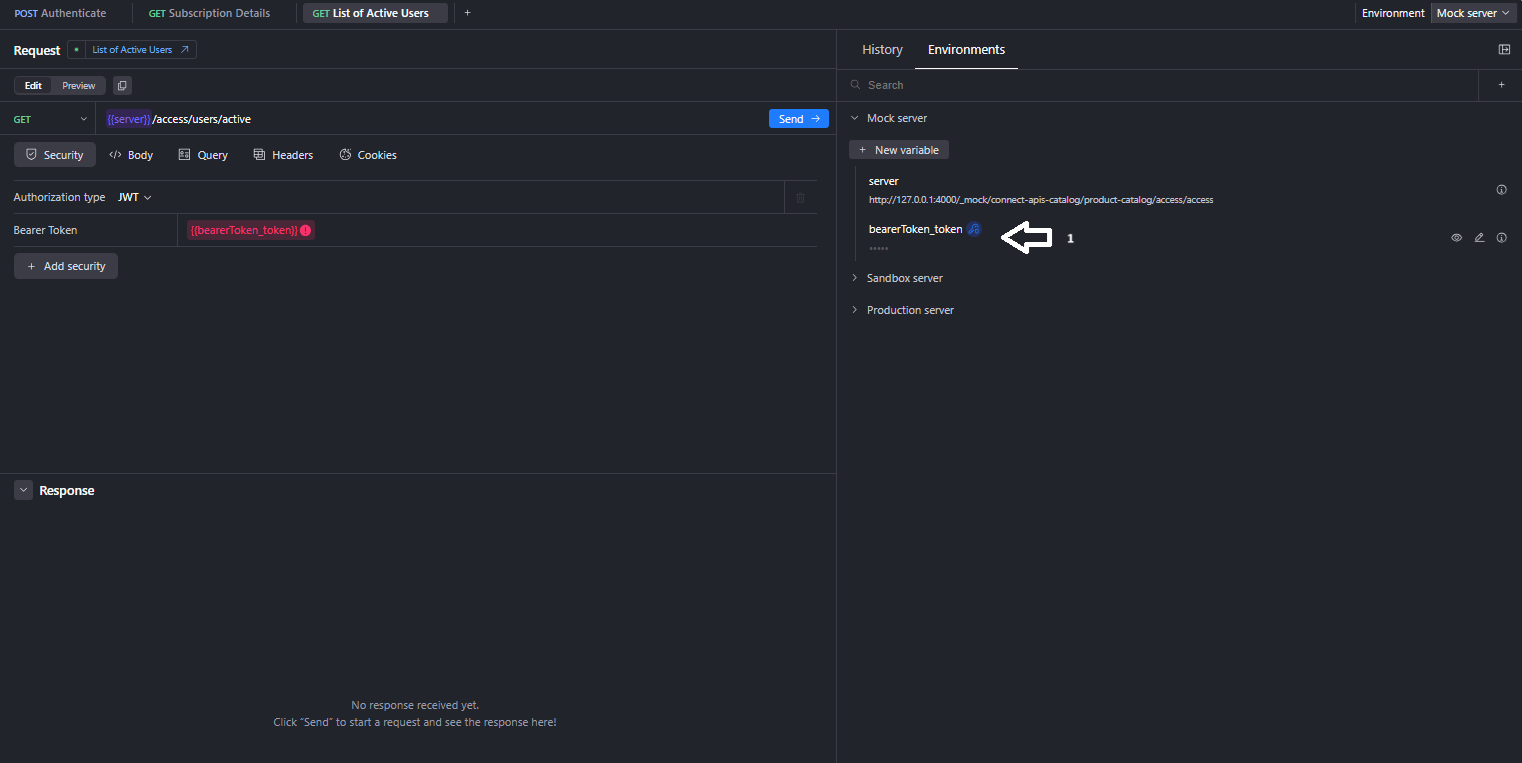
View full-size image — Bearer token variable setup
- API errors: Error Responses